New extensions do not always open directly for unrestricted registration. Special phases with different rules may come first.
The main launch phases
Sunrise: priority for eligible registered trademark holders.
Early Access or a similar phase: early registration under special terms or higher fees.
General Availability: standard registration, usually on a first-come basis.
What pre-registration means
Pre-registration records interest and prepares submission when the relevant phase opens. It is not a completed registration and does not guarantee allocation.
What happens when several parties apply
The outcome depends on the specific Registry rules. It may use first-come priority, an auction or another contention process.
What to check first
Review the phase, opening date, price, eligibility requirements and refund policy before submitting a request.
Need more help?
If this guide did not resolve your issue, continue with the easy support team.
The .eu extension is designed for individuals and organisations seeking a European online presence. This guide consolidates the key procedures that were previously spread across the legacy FAQ.
The .eu domain I want is already registered
A registered domain cannot be registered again. You may review publicly available WHOIS information and, where possible, contact the current holder. A change of holder can proceed only with the agreement of the parties and under the .eu Registry procedure.
Privacy note
Personal registrant details may not be publicly displayed because of data-protection rules.
Accented and unaccented Greek versions
The accented and unaccented forms are treated as separate domain names by the .eu Registry. Registering one version does not automatically secure the other, so check both before completing your order.
Transferring a .eu domain to easy
A transfer requires the domain authorisation code, also called an Auth code or transfer code. It can be obtained from the current registrar or, where supported, through EURid services. The current renewal rules and fee are shown during checkout.
Confirm that the domain is active.
Make sure you can access the registrant email address.
Enter the correct authorisation code.
Avoid unplanned DNS changes during a critical transfer.
Naming restrictions for .eu domains
The name must comply with the technical rules of the .eu Registry. It cannot begin or end with a hyphen, it has a defined maximum length and may contain only supported characters. The easy availability checker rejects most invalid formats before submission.
Need more help?
If this guide did not resolve your issue, continue with the easy support team.
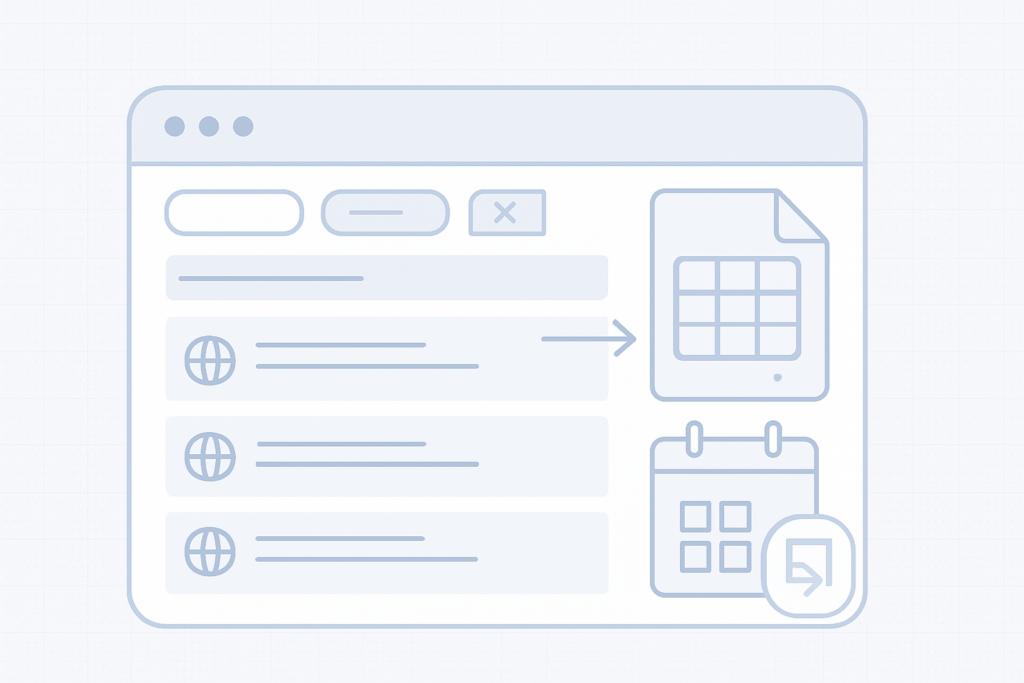
You can export the domains shown in your domain list as an iCalendar (.ics) file or as an Excel (.xlsx) spreadsheet. Use the exported iCal file to import renewal dates into your calendar app and add alerts so you don’t miss renewals.
What the export includes
The export contains the domains currently visible in your list according to the active filters and search. For example, if you search for ".gr" and press Enter, only.gr domains will be shown and the exported file will include only those domains. The exported file includes the columns shown in your domain list, such as domain name and expiry date.
How to export
Apply any filters or search terms to your domain list so it shows only the domains you want to export (for example, type ".gr" in the search field and press Enter).
Use the export option for the domain list and choose the format you need: iCalendar (.ics) or Excel (.xlsx).
Download the exported file to your computer.
Import the.ics file into your calendar app or open the.xlsx file in a spreadsheet program to view or adjust the data.
Note
Adding an alert to the imported calendar entries gives you an extra reminder on top of any other notifications. Set the alert time that works best for you (days or weeks before expiry) to avoid late renewals and penalties.
Importing the iCal file into your calendar
Most calendar apps provide an option to import.ics files or subscribe/add a calendar. Use that option to add the downloaded.ics file to your calendar and then add alerts or notifications for the renewal dates.
Tips and reminders
Always apply filters or search first — the export only includes the domains currently listed.
Keep a local copy of the exported file as a backup.
After importing, verify the timezone and alert settings in your calendar so reminders appear at the expected time.
Quick checklist before exporting
Filter the list to include only the domains you want exported.
Choose iCal (.ics) to import into a calendar or Excel (.xlsx) for a spreadsheet.
Download and verify the exported file contains the expected domains and expiry dates.
Need more help?
If you have trouble exporting or importing the file, contact support with the details of the issue and a description of the steps you followed.
The Browsable API lets you integrate domain search, registration and management features from easy.gr directly into your website, web app or control panel. It uses JSON and AJAX so you can test and run commands in real time from your browser and see results immediately.
Enable the API Sign in to your easy.gr account and enable the service from the "easy API (WHMCS)" option in your account menu.
How it works
The Browsable API acts as a bridge between your site and domain registries through the easy.gr control panel. Requests and responses use JSON, and AJAX lets you call API endpoints directly from client-side code for immediate feedback during development and testing.
Key capabilities Real-time domain availability searches Register and renew domains Query WHOIS data and manage privacy settings Update nameservers and other domain settings via the control panel
What you can integrate
Domain search and availability checks in your site’s signup or checkout flow
Automated domain registration and renewal workflows
WHOIS lookups and privacy toggles for customers
Nameserver updates and other lifecycle operations from your own panel
Typical integration steps
Enable the Browsable API in your easy.gr account (see note above).
Use the browsable endpoints in your browser to explore available requests and responses via JSON/AJAX.
Build client-side calls (AJAX) to the API endpoints to perform searches and operations from your UI.
Handle responses in your application and forward necessary actions to the easy.gr control panel or backend as required.
Test workflows in the browser, then move integration into your production environment when ready.
Requirements and recommendations
Familiarity with JSON and AJAX for client-side calls.
An easy.gr account with the Browsable API enabled.
Plan your error handling for registry responses and rate limits.
Use secure practices for any credentials or tokens required by your integration.
Quick tips Use the browsable interface to prototype and debug API calls before coding full integration. The live browser feedback reduces development time and helps validate workflows.
Support
If you need help, open a support request from your easy.gr account so the team can guide you with account-specific details and best practices for production deployment.
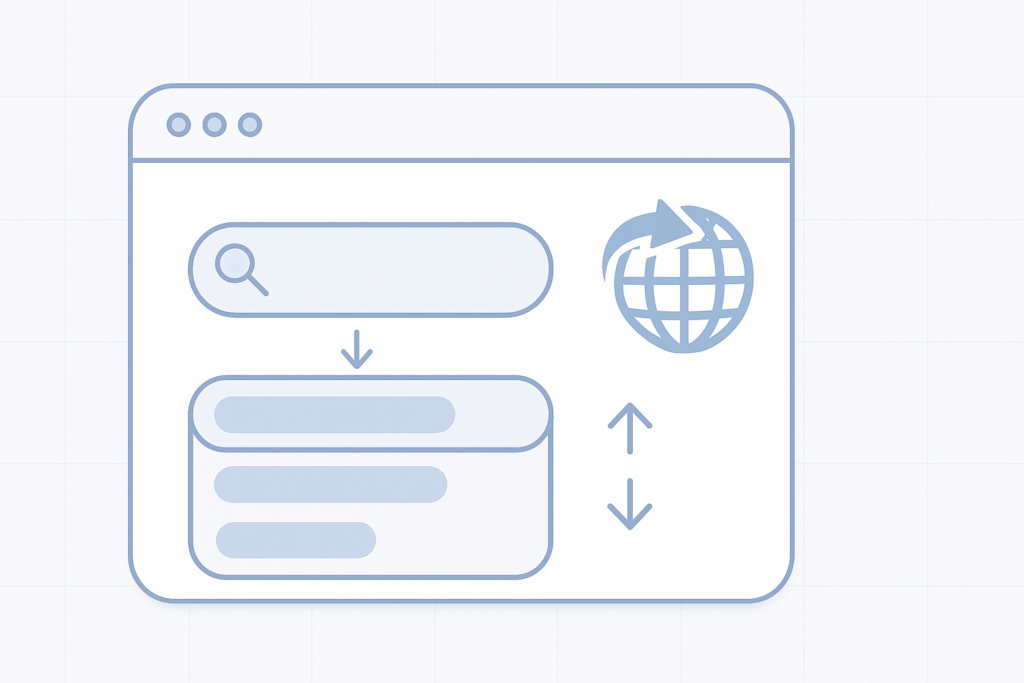
Type the domain name you want and include the dot (.). The tool will display a list of available extensions (TLDs) for that name. Use the left/right arrow keys on your keyboard to move through the list and see which extensions are free to register—then select the one you want to proceed with registration.
Quick steps
Type the domain name including the dot (for example: yourname.).
Use the keyboard arrow keys to browse suggested extensions.
Select an extension to continue with registration or check pricing and availability.
Tips for choosing an extension
Consider relevance: choose a TLD that fits your audience or business (for example country or industry-specific TLDs).
Protect your brand: if the name is important, consider registering common alternative extensions to avoid confusion.
Keep it memorable: shorter and well-known TLDs are easier for users to remember.
Note
The tool shows available extensions for the exact name you enter. Availability and registration options can change quickly, so if you see an extension you want, proceed to register it to reserve it.
Need help or want to register multiple extensions?
If you want to secure several TLDs at once or need advice on the best extensions for your project, our domain pages explain registration options and next steps.
Register domains at easy.gr
Visit easy.gr/domains to search, compare and register domain names and extensions.
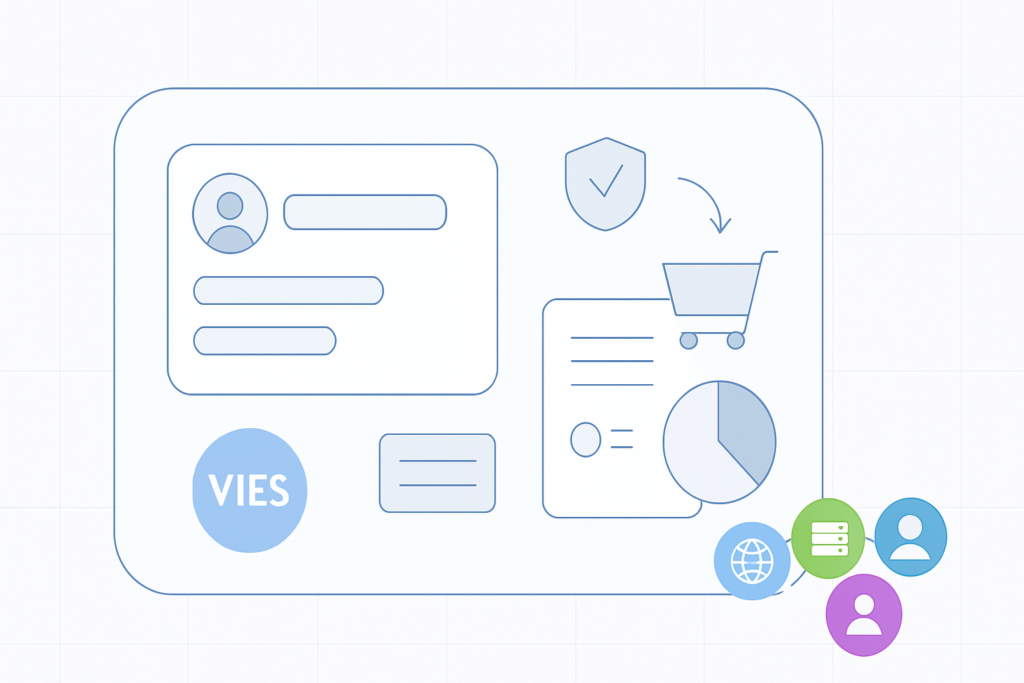
The billing contact is the contact record we use to issue invoices and receipts for orders (domains, hosting, websites, telephony, etc.). It is separate from any domain WHOIS/owner contact — you can keep domain ownership and invoicing details different without affecting registrations or transfers.
Where to create and edit billing contacts
Create the contact you want us to bill for each order fromSettings → Billing Addresses. Add the exact name, address and tax (VAT/AFM) number that should appear on invoices.
Quick stepsOpen Settings → Billing Addresses.Click to add a new billing contact and fill in the details (name, address, VAT/AFM, alias).When purchasing, select the desired billing contact on the second step of the cart/checkout before completing payment.If you need an invoice, the VAT number (AFM) will be verified online via VIES at issuance.
Changing billing details for a single order
If you forgot to set the billing contact beforehand or you want a specific order invoiced to different details, add or select the correct billing contact during the checkout process (before you reach the payment screen). The system will use the chosen billing contact for that order only.
VAT validation (VIES)For issued invoices we verify the VAT/AFM number online with the VIES service. Make sure the VAT number you provide is valid and corresponds to the invoiced entity.
Tips for managing multiple billing contacts
Give each billing contact a clear alias so you can identify them quickly (for example: client4domains1, client4hosting1, telephony1).
Use separate billing contacts to group services (domains on one contact, hosting on another) or to invoice different clients or departments.
Keep billing contact details up to date to avoid delays when issuing invoices.
Before you complete checkoutAlways verify the selected billing contact on the cart's checkout page. If you need an invoice, confirm the VAT/AFM is correct — it will be checked automatically when the invoice is issued.