Automated installers reduce manual steps but do not remove the need for updates, secure credentials and tested backups.
Installing an application
Use the available application catalogue or WordPress Toolkit, select the correct domain and directory, and set a unique administrator username with a strong password. Do not retain default credentials.
Review versions and updates
After installation, configure appropriate updates and remove unused plugins or themes. Create a backup before a major update.
Creating a backup
In Backup Manager, choose a full or selective backup. A complete copy should include files, databases and the required settings.
Storage and restore
Do not keep the only copy on the same server. Maintain an external copy and test the restore process before a real incident.
Need more help?
If this guide did not resolve your issue, continue with the easy support team.
Plesk can create mailboxes and configure core functions for each address when email hosting is enabled for the domain.
Creating a mailbox
Open Mail, choose Create Email Address and set the name, a strong password and a storage limit where supported. Store credentials in a secure password manager.
Changing the password
Select the email address and set a new unique password. Update every device and application that uses the account.
Email forwarding
Enable forwarding and enter the complete destination address. Decide whether to retain a copy in the original mailbox because this affects storage use.
Additional functions
Depending on the service, autoresponders, aliases, spam filtering and webmail may be available. These functions do not replace SPF, DKIM and DMARC for sender authentication.
Need more help?
If this guide did not resolve your issue, continue with the easy support team.
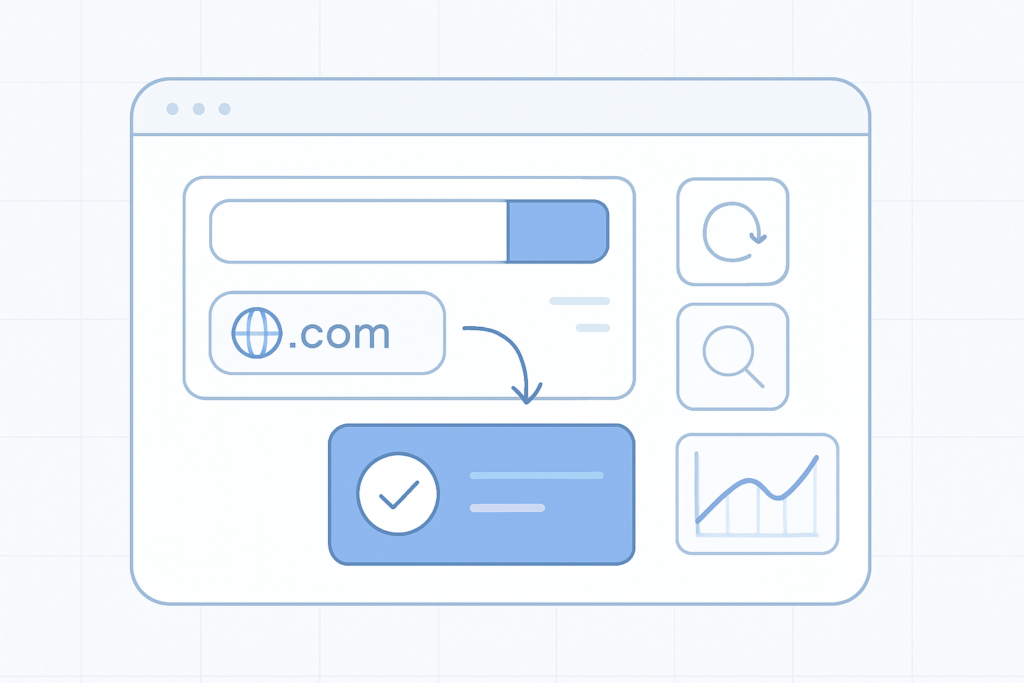
The Browsable API lets you integrate domain search, registration and management features from easy.gr directly into your website, web app or control panel. It uses JSON and AJAX so you can test and run commands in real time from your browser and see results immediately.
Enable the API Sign in to your easy.gr account and enable the service from the "easy API (WHMCS)" option in your account menu.
How it works
The Browsable API acts as a bridge between your site and domain registries through the easy.gr control panel. Requests and responses use JSON, and AJAX lets you call API endpoints directly from client-side code for immediate feedback during development and testing.
Key capabilities Real-time domain availability searches Register and renew domains Query WHOIS data and manage privacy settings Update nameservers and other domain settings via the control panel
What you can integrate
Domain search and availability checks in your site’s signup or checkout flow
Automated domain registration and renewal workflows
WHOIS lookups and privacy toggles for customers
Nameserver updates and other lifecycle operations from your own panel
Typical integration steps
Enable the Browsable API in your easy.gr account (see note above).
Use the browsable endpoints in your browser to explore available requests and responses via JSON/AJAX.
Build client-side calls (AJAX) to the API endpoints to perform searches and operations from your UI.
Handle responses in your application and forward necessary actions to the easy.gr control panel or backend as required.
Test workflows in the browser, then move integration into your production environment when ready.
Requirements and recommendations
Familiarity with JSON and AJAX for client-side calls.
An easy.gr account with the Browsable API enabled.
Plan your error handling for registry responses and rate limits.
Use secure practices for any credentials or tokens required by your integration.
Quick tips Use the browsable interface to prototype and debug API calls before coding full integration. The live browser feedback reduces development time and helps validate workflows.
Support
If you need help, open a support request from your easy.gr account so the team can guide you with account-specific details and best practices for production deployment.
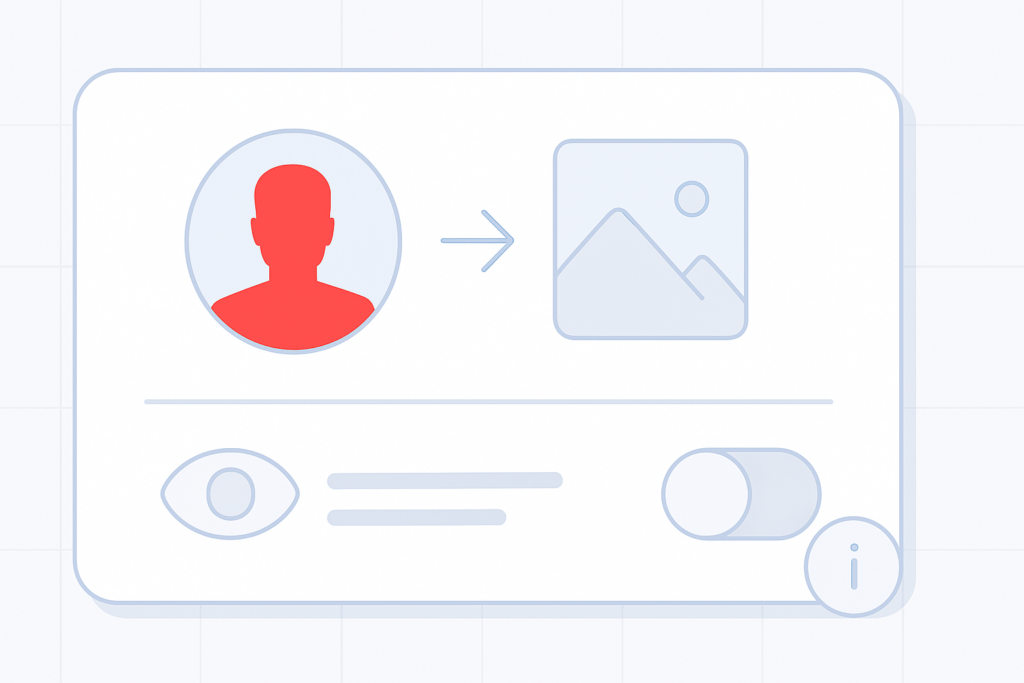
Your avatar is the small image that appears on your account card. It can be a photo, logo, icon or any graphic that represents you or your business. Adding an avatar helps other members recognise you as the community grows.
Why add one?
An avatar gives personality to your account card and makes it easier for others to identify you in the community. Upload a brand mark, photo or any image that represents you.
How to add or change your avatar
Quick steps
Open your account Settings.
Find the profile or avatar section and choose Upload (or Change).
Select an image from your device and save your changes.
Use a clear, appropriately sized image for best results. You can upload a logo, photo or any graphic that represents you.
How to hide your avatar
If you prefer not to display an avatar publicly, you can disable its visibility in your display settings. Turning off the avatar display will keep your account visible without a personal image.
Remember
Uploading an avatar personalises your account card.
You can change the image anytime from Settings.
If you want privacy, disable avatar display in the appearance or display settings.