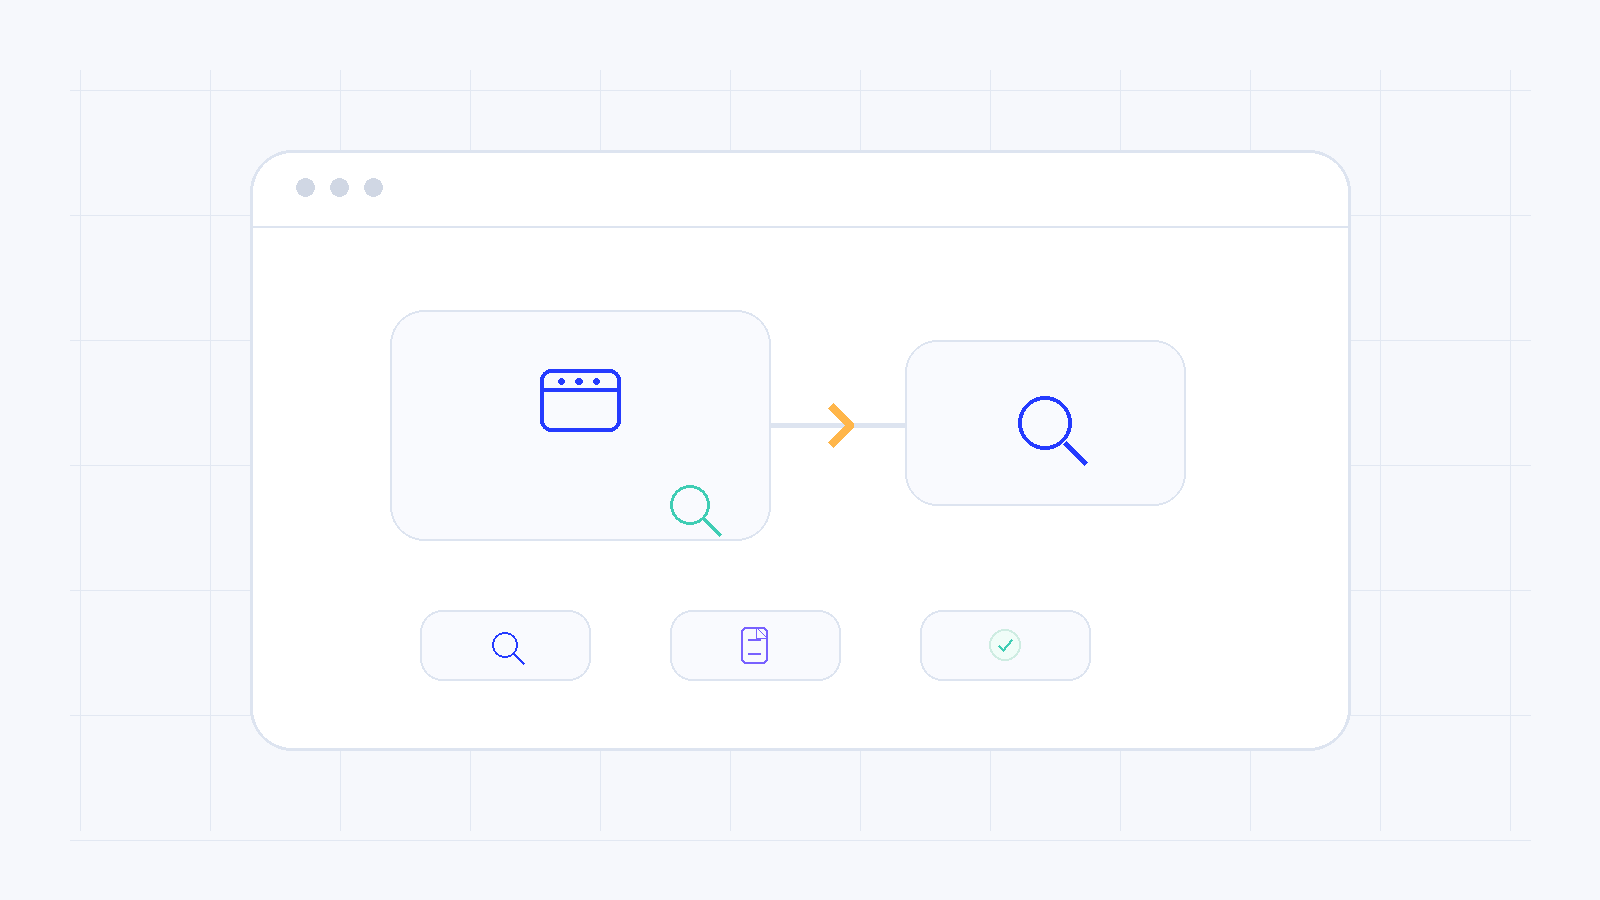
Publishing a website does not guarantee immediate appearance in search results. Google must first be able to crawl and index it.
Make sure the site is publicly accessible
Confirm that the domain works, SSL is valid and no maintenance mode, password protection or access rule blocks search bots.
Use Google Search Console
Add and verify the domain property, submit the sitemap and review coverage or crawling issues. Submission supports discovery but does not guarantee a specific ranking.
Check robots.txt and noindex
An incorrect robots.txt Disallow rule or a noindex directive can exclude important pages. Also check whether the CMS has a search-engine visibility restriction enabled.
Publish genuinely useful content
Clear titles, unique content, strong internal linking and a fast mobile experience help search engines understand the site.
Need more help?
If this guide did not resolve your issue, continue with the easy support team.
Moving hosting doesn't have to cause downtime or stress. With easy.gr you can transfer your site smoothly by following a few clear steps and testing everything before switching your domain. This guide walks you through the process end to end.
Why move hosting?
Slow page load times
Frequent server or support issues
Lack of security or outdated protections
Need for local-language support and reliable technical help
easy.gr provides improved speed, stability, support and security, including branded SSL options.
Step-by-step migration
Step 1 — Contact easy.gr support
Get in touch with easy.gr and tell them you want to migrate your site. Their team will provide guidance and, if you prefer, can carry out the transfer for you.
Step 2 — Take a full backup
Request or download a complete backup of your site files and the database from your current hosting provider. Keep this backup safe until the migration is finished.
Step 3 — Upload your site to the new server
Transfer your files and import the database to the easy.gr server via FTP or the control panel. Make sure file permissions and database connection settings are correct.
Step 4 — Test on a temporary URL
easy.gr provides a temporary/test URL so you can review the site on the new server and confirm everything works before the domain is changed.
Step 5 — Update nameservers or DNS records
Once you’ve verified the site on the new server, change your domain’s nameservers or DNS records to point to easy.gr. DNS changes usually take up to 24 hours to propagate fully.
Bonus tipsKeep the old hosting active for 1–2 days after switching DNS to ensure no traffic or emails are lost.Update email account settings if your email was hosted with the previous provider.After the migration, verify HTTPS/SSL—especially if you use a branded SSL certificate from easy.gr.
Final checklist before you finishFull backup taken from the old host (files + database)Files and database uploaded to the easy.gr serverSite tested via temporary URL and functionality verifiedEmail accounts reconfigured if neededNameservers or DNS records updatedHTTPS/SSL confirmed to be workingOld hosting kept active until DNS propagation completes
Conclusion
With simple preparation and the support of easy.gr you can migrate your website without downtime. Follow the steps above, test thoroughly on the temporary URL and keep the old hosting briefly until DNS propagation completes for a smooth transition.
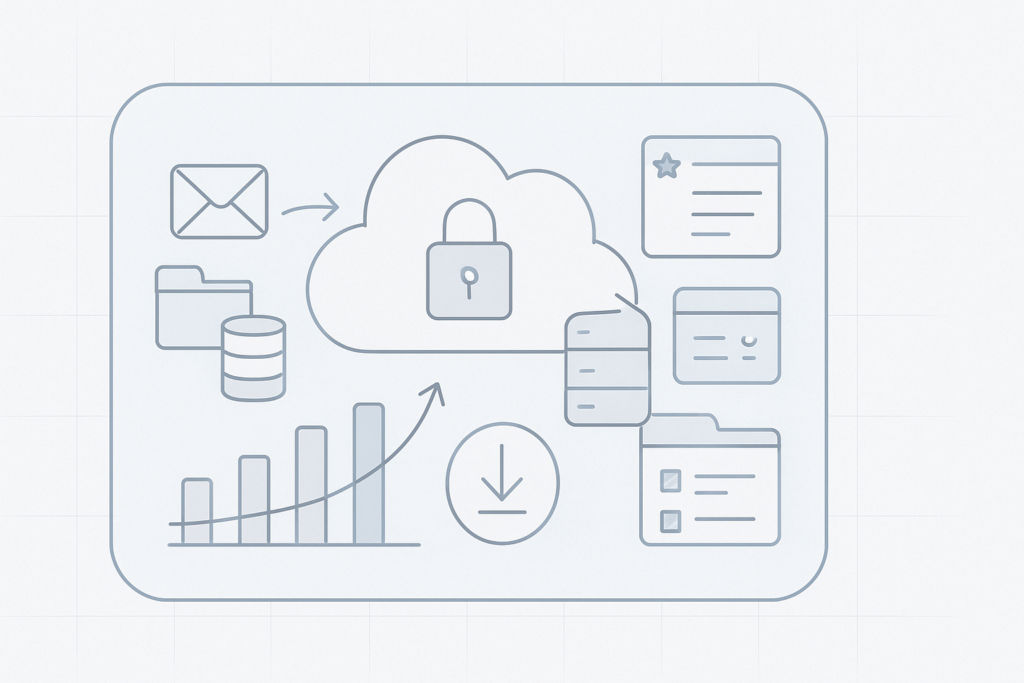
Easy Backup secures your website files and databases with encrypted, cloud-hosted backups and incremental backup capability. Backups are stored on our Cloud Servers and are accessible online so you can restore data quickly if something goes wrong.
Key benefits
Incremental backups: only changed data is copied after the first full backup, saving storage and time.
Encrypted and cloud-hosted: backups are stored encrypted on our Cloud Servers and accessed securely.
File-level restore: recover single files without restoring the entire site.
One-click download: download any backup version as a compressed archive for manual restoration or migration.
Why backups matter
Websites face risks like hacking, accidental deletion, or data corruption. When a site is compromised it can be blocked by search engines or lose traffic and reputation. Regular backups let you restore a clean version of your site quickly and minimise downtime and lost revenue.
How Easy Backup works
After you enter your FTP or SFTP credentials, Easy Backup automatically performs backups of all website content and databases. The system uses incremental backups to capture only changed files after the initial copy, reducing storage needs and speeding up subsequent backups. All backup data is encrypted and kept online on our Cloud Servers for easy access.
Restoring files and full sites
You can view each backup’s contents in the Backup FileManager and restore only the files you need, or perform a full site restore. Use the “one-click download” option to download any backup version as a single compressed file, which you can upload to your server to rebuild the site.
Restore options
If a single file is corrupted or accidentally deleted, restore just that file from the backup—there is no need to restore the entire site unless necessary.
Scheduling and notifications
Automate backups on a daily, weekly or monthly schedule and choose the time of day that best suits your site’s low‑traffic period. If a backup fails or your backup storage reaches capacity, the system will send an alert so you can take action promptly.
Quick checklist
Enter and verify your FTP/SFTP details.
Choose a backup schedule (daily, weekly or monthly).
Confirm notification settings so you receive failure or capacity alerts.
Test a restore periodically to ensure backups work as expected.
Getting started
To begin, provide your FTP or SFTP connection settings and enable backups. After the initial full backup completes, subsequent incremental backups will run automatically according to your schedule.
Support and troubleshooting
If you need help configuring backups, restoring files, or interpreting notification messages, contact support so we can review your backup logs and assist with recovery steps.